
5 Min Read
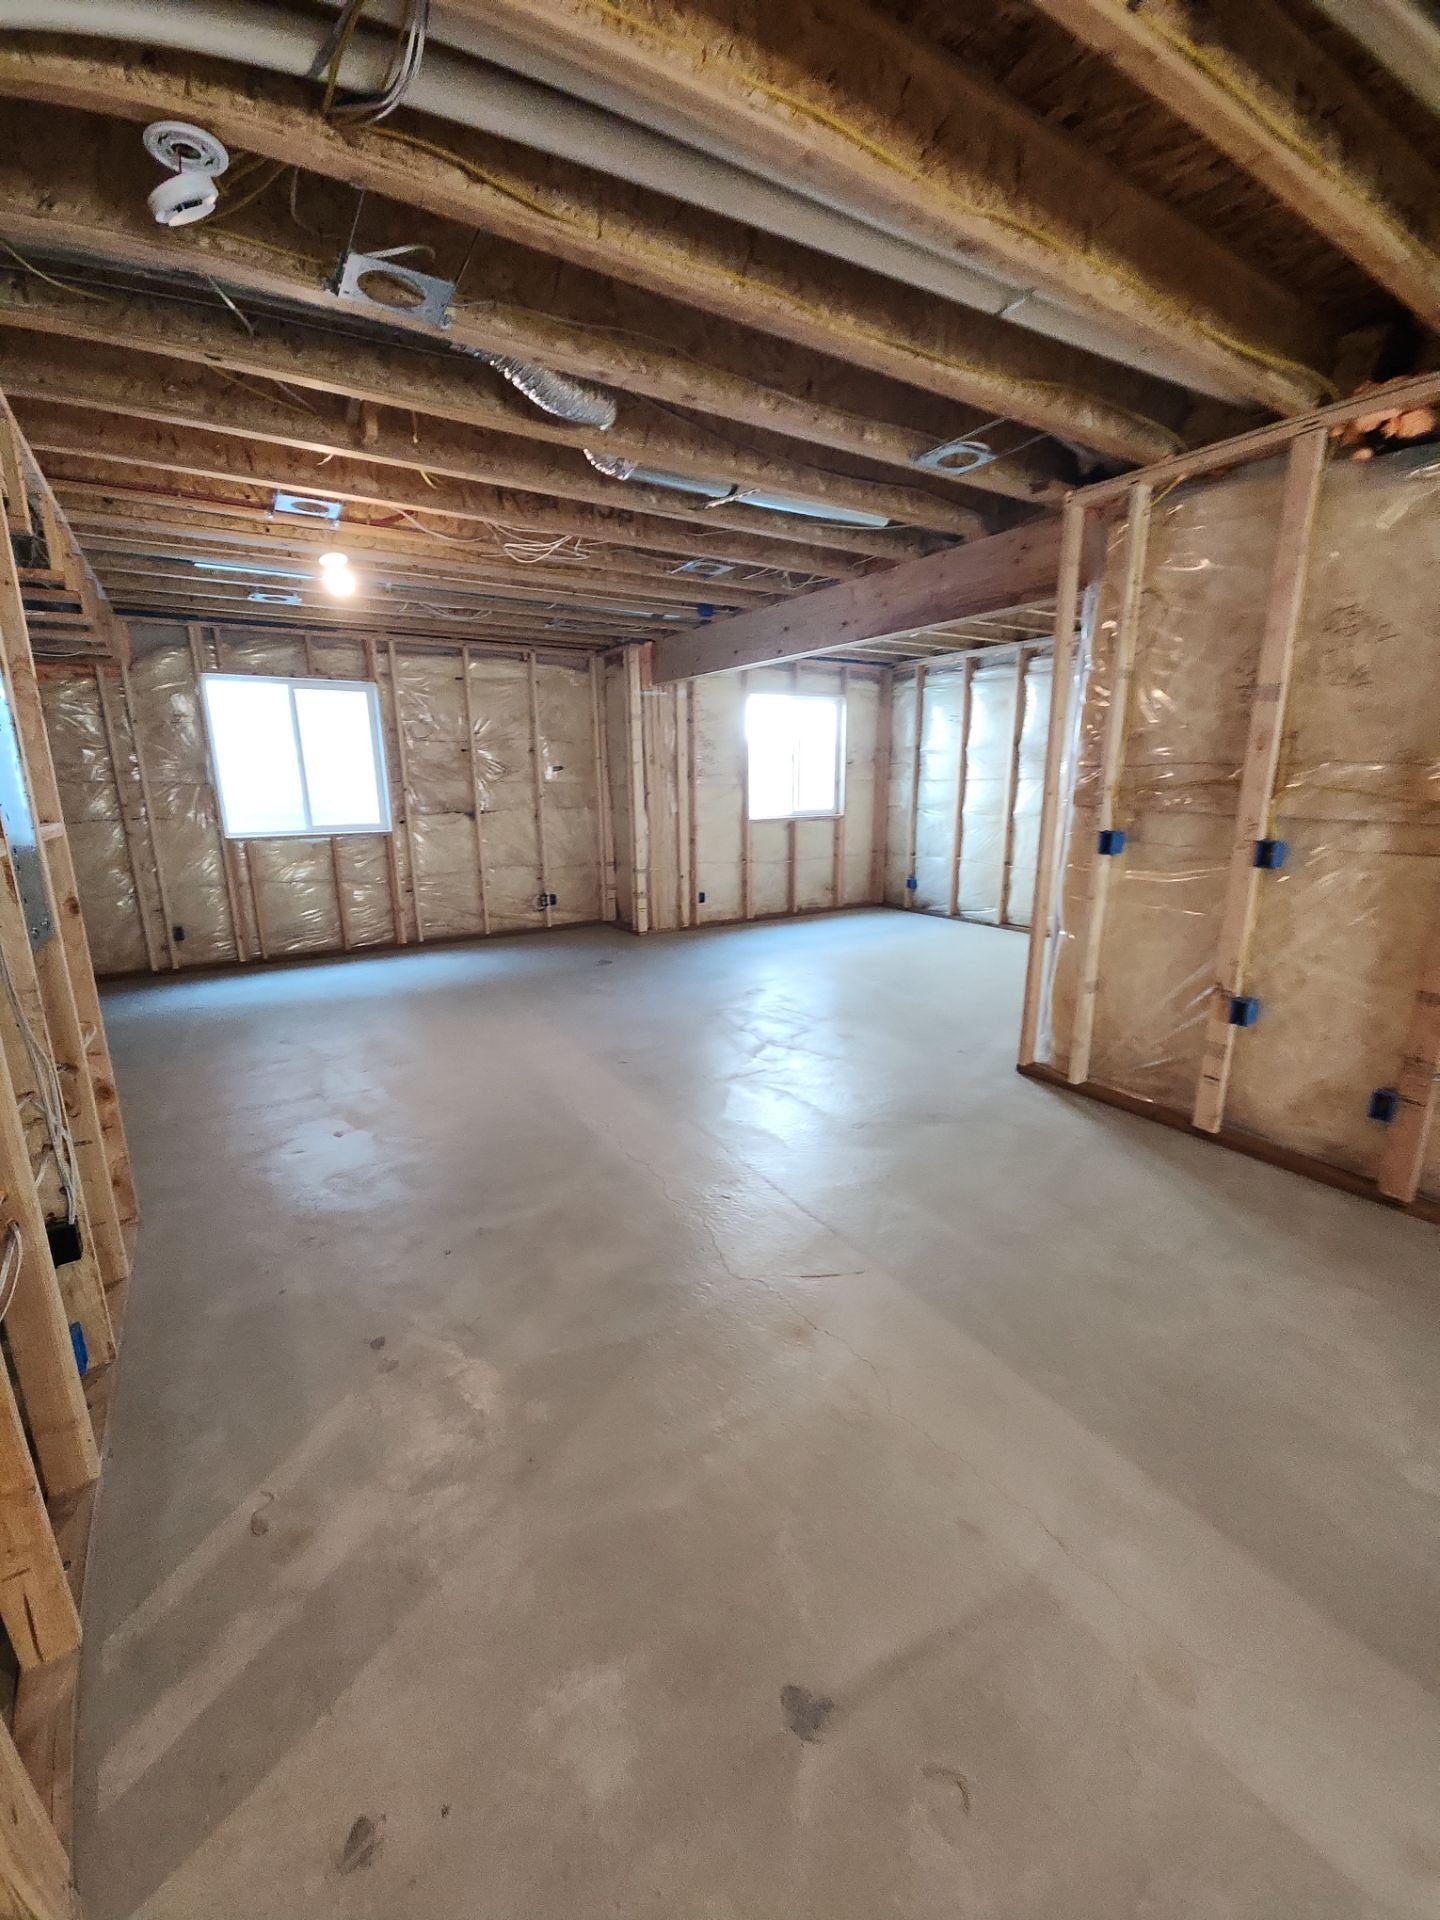
Once homeowners decide to finish a basement, one of the next questions is usually about timing: how long will the project actually take?
There is no single timeline that fits every basement. A straightforward finish with open living space, a bedroom, and standard finishes moves differently from a basement with multiple bedrooms, a bathroom, custom tile, cabinetry, specialty lighting, or significant plumbing changes.
The construction schedule also depends on what has to happen before work begins. Design decisions, material selections, permits when required, trade scheduling, and long-lead products can all affect when a project is ready to move from planning into construction.
The easiest way to understand a basement finishing timeline is to look at the project in phases instead of focusing on one promised number of weeks.
In this blog, you'll find:
- What happens before basement construction starts
- The major phases of a basement finish
- Why some phases move quickly and others take longer
- What commonly causes schedule changes
- How homeowners can help keep decisions moving
- Frequently asked questions about basement finishing timelines
Phase 1: Planning the Scope and Layout
The timeline starts before anyone picks up a hammer.
The first step is deciding what the basement needs to include. That may sound simple, but the layout affects nearly every trade that follows. Bedroom locations affect walls, doors, electrical, and lighting. Bathrooms affect plumbing and ventilation. A kitchenette or laundry area changes plumbing, cabinetry, and electrical needs. Ceiling plans may need to work around ductwork, beams, or existing utilities.
A well-developed scope gives everyone a clearer picture of the work before construction begins. It also reduces the number of decisions that have to be made while the project is already moving.
This is also the right time to identify selections that may take longer to order, such as cabinetry, specialty tile, shower glass, doors, or certain fixtures.
Phase 2: Pre-Construction Coordination
Before demolition, framing, or rough work starts, the project needs to be coordinated.
Depending on the scope and local requirements, that can include permit preparation, scheduling subcontractors, confirming selections, ordering materials, and reviewing site conditions.
This phase is easy to overlook because the home may not look different yet. But it is one of the most important parts of the schedule. A project that starts before the basic decisions are ready can lose time later while crews wait for answers or materials.
RemodelCo's goal is to get as many decisions as practical settled before active construction begins.
Phase 3: Framing and Layout
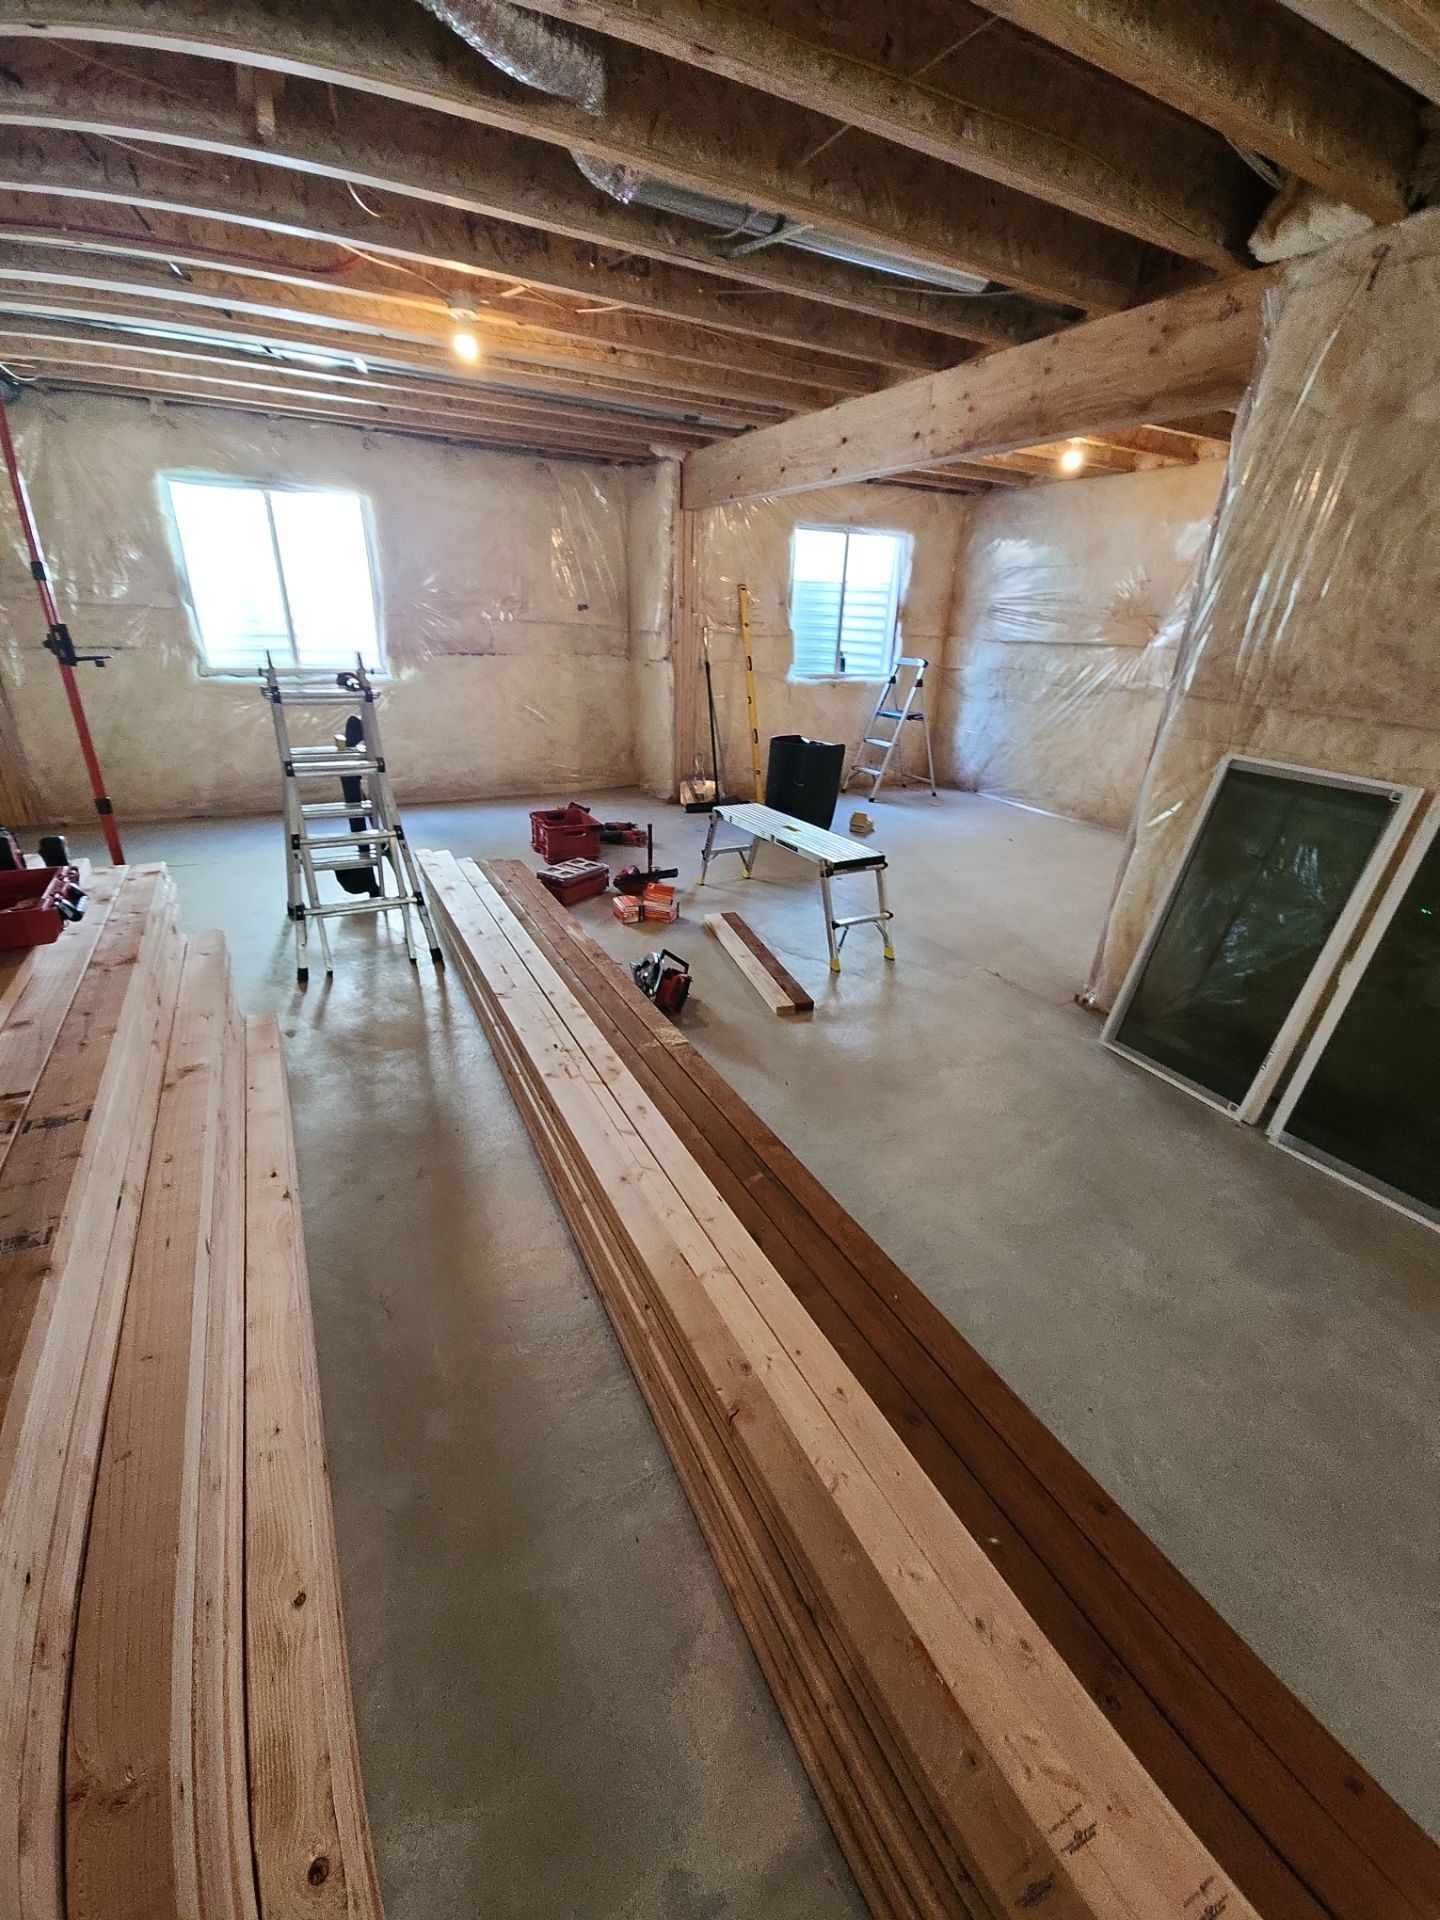
Framing is where the basement begins to look like the plan.
New walls define bedrooms, bathrooms, closets, storage areas, and hallways. Door openings are established, soffits may be framed, and any blocking needed for future cabinets, handrails, televisions, or accessories can be planned.
For homeowners, framing is often one of the most satisfying stages because the basement changes quickly. Rooms that were lines on a plan begin to feel real.
It is also an important checkpoint. Once walls are framed, the locations for electrical, plumbing, and other rough work become much easier to visualize.
Phase 4: Plumbing, Electrical, and HVAC Rough-In
After framing, the major systems are coordinated through the new layout.
Electrical rough-in may include outlets, switches, lighting, dedicated circuits, television locations, office power, bathroom power, or other project-specific needs. Plumbing rough-in may support a bathroom, laundry area, wet bar, or other fixtures. HVAC adjustments may be needed to create comfortable supply and return air throughout the finished space.
This phase often involves several trades working in sequence. One trade may need to complete part of its work before another can finish. That coordination is one reason a basement schedule is more than a list of independent tasks.
Homeowners can help by making sure fixture locations and electrical preferences are decided before crews reach this stage.
Phase 5: Insulation and Pre-Drywall Review
Before drywall closes the walls, the team has an opportunity to review what will soon be hidden.
Insulation, sound-control measures, blocking, rough plumbing, wiring, and mechanical work should all be where they need to be. Any required inspections also need to occur at the appropriate stages before work is covered.
This is a good point for homeowners to think through the details one more time. Is the TV outlet where the TV will actually go? Are there enough outlets near a future desk? Is blocking installed where a heavy wall-mounted item will be attached? Changes are much easier before drywall than after it.
Phase 6: Drywall, Finishing, and Texture
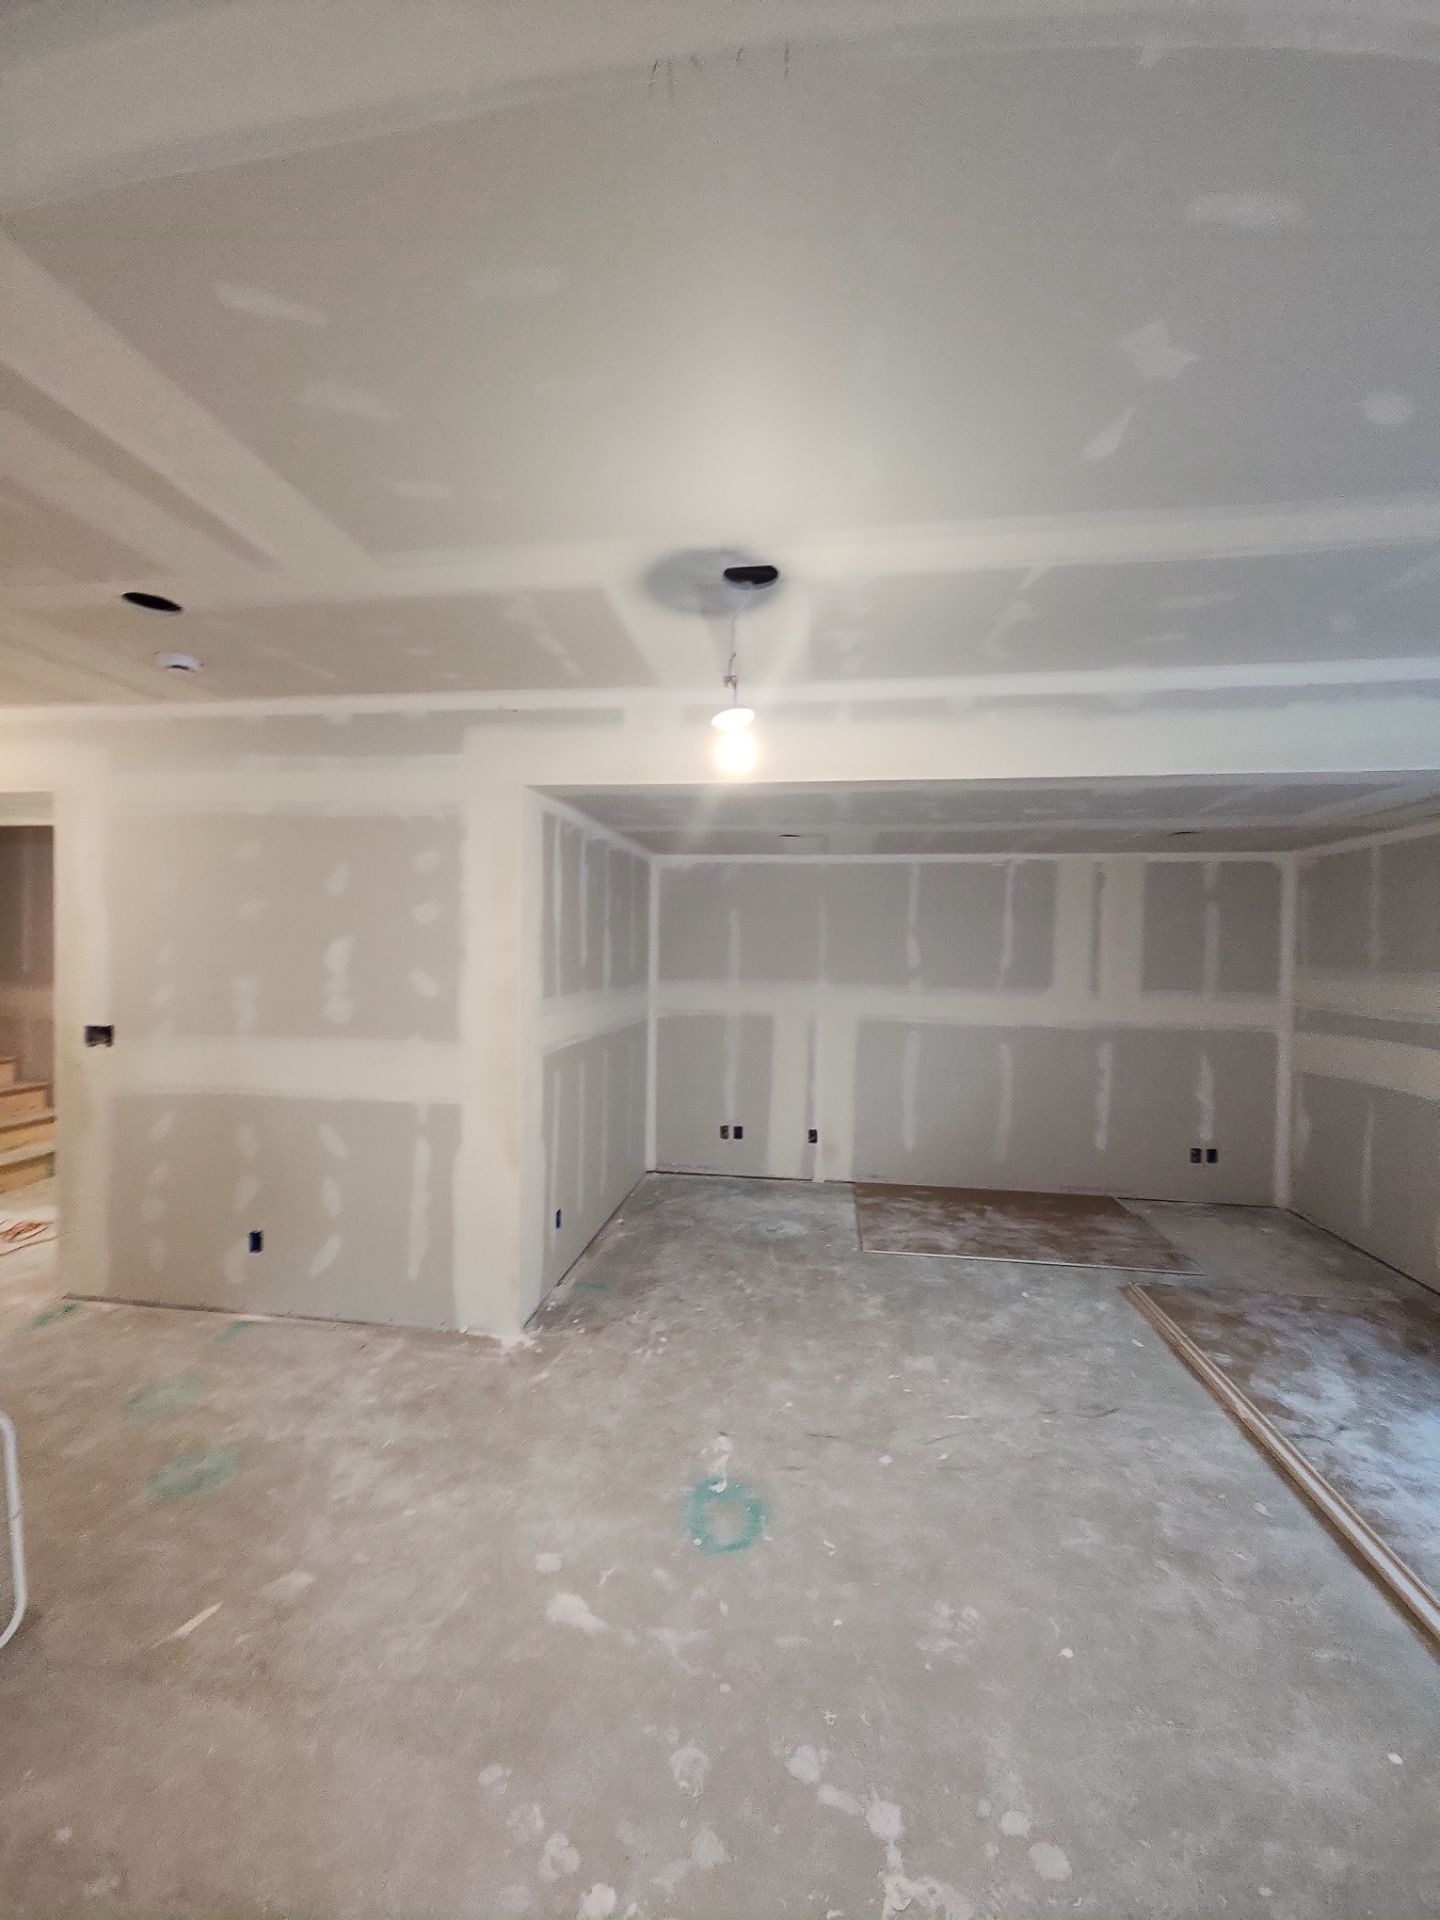
Drywall can make the basement feel dramatically closer to completion, but this stage takes more than hanging sheets on the wall.
After installation, joints and fasteners need to be finished through multiple steps. Compound needs time to dry between coats, then surfaces are sanded and prepared for texture or the selected finish level.
Drying time is part of the schedule. Trying to rush drywall finishing can create quality problems that become visible after paint.
Once drywall is complete, the basement stops feeling like a construction shell and starts feeling like finished rooms.
Phase 7: Paint, Doors, Trim, and Flooring
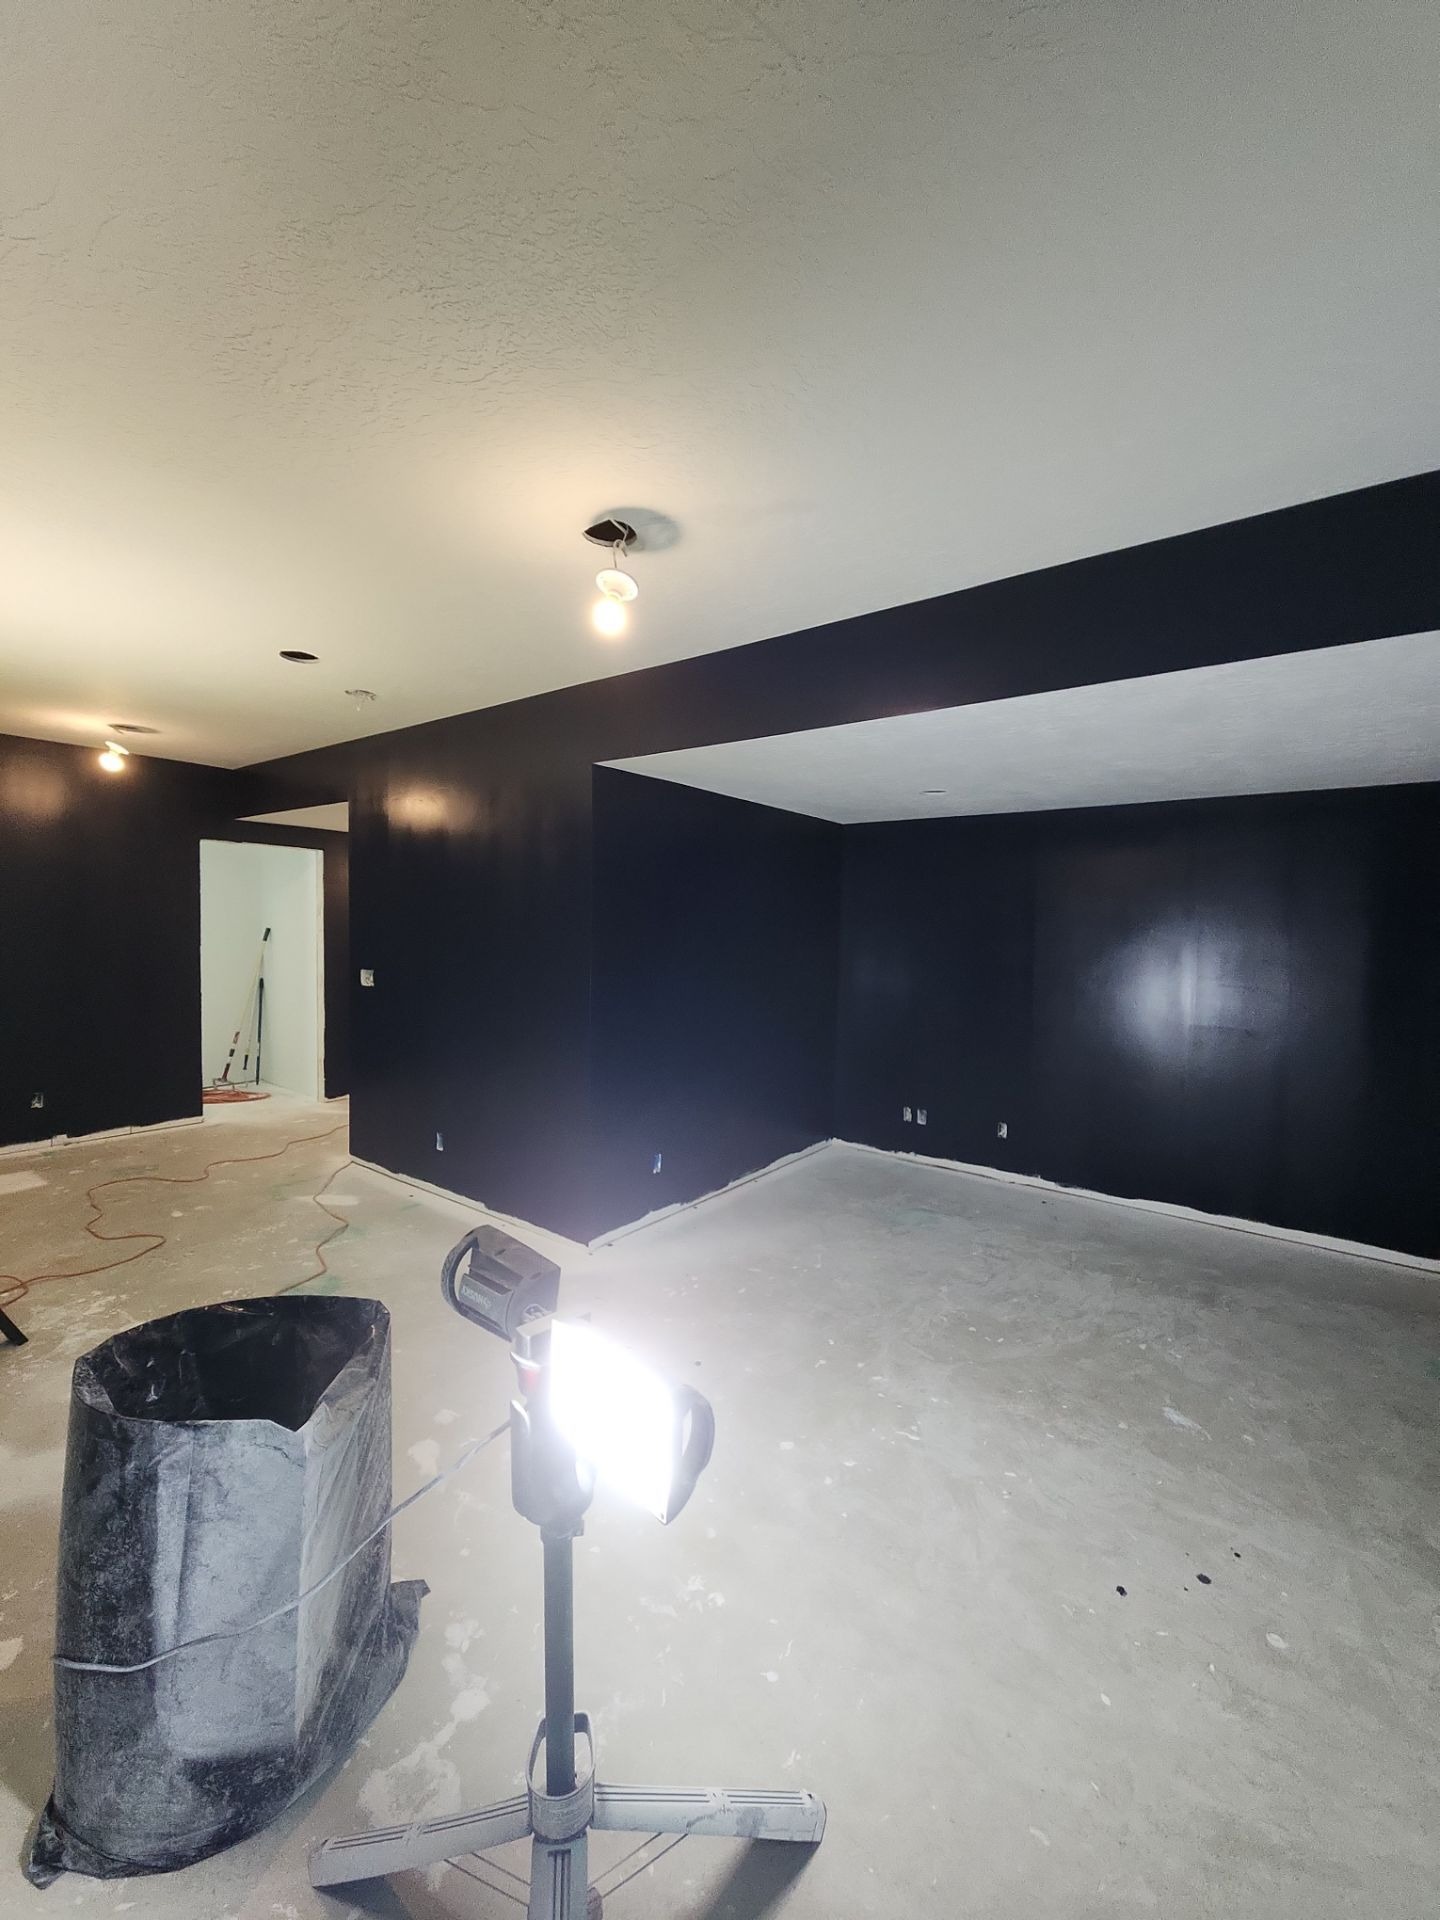
The finish phase includes many of the details homeowners notice most.
Walls and ceilings are painted, interior doors are installed, baseboards and casing go in, flooring is installed, and finish carpentry begins to define the style of the basement.
The exact order can change based on the flooring type, cabinet installation, tile work, and other project details. A basement with extensive tile, custom cabinets, or specialty finishes will naturally have a different finish sequence than a simple carpet-and-paint project.
This part of the project often includes several smaller trades and tasks. Good scheduling matters because each one needs access to the space without damaging completed work.
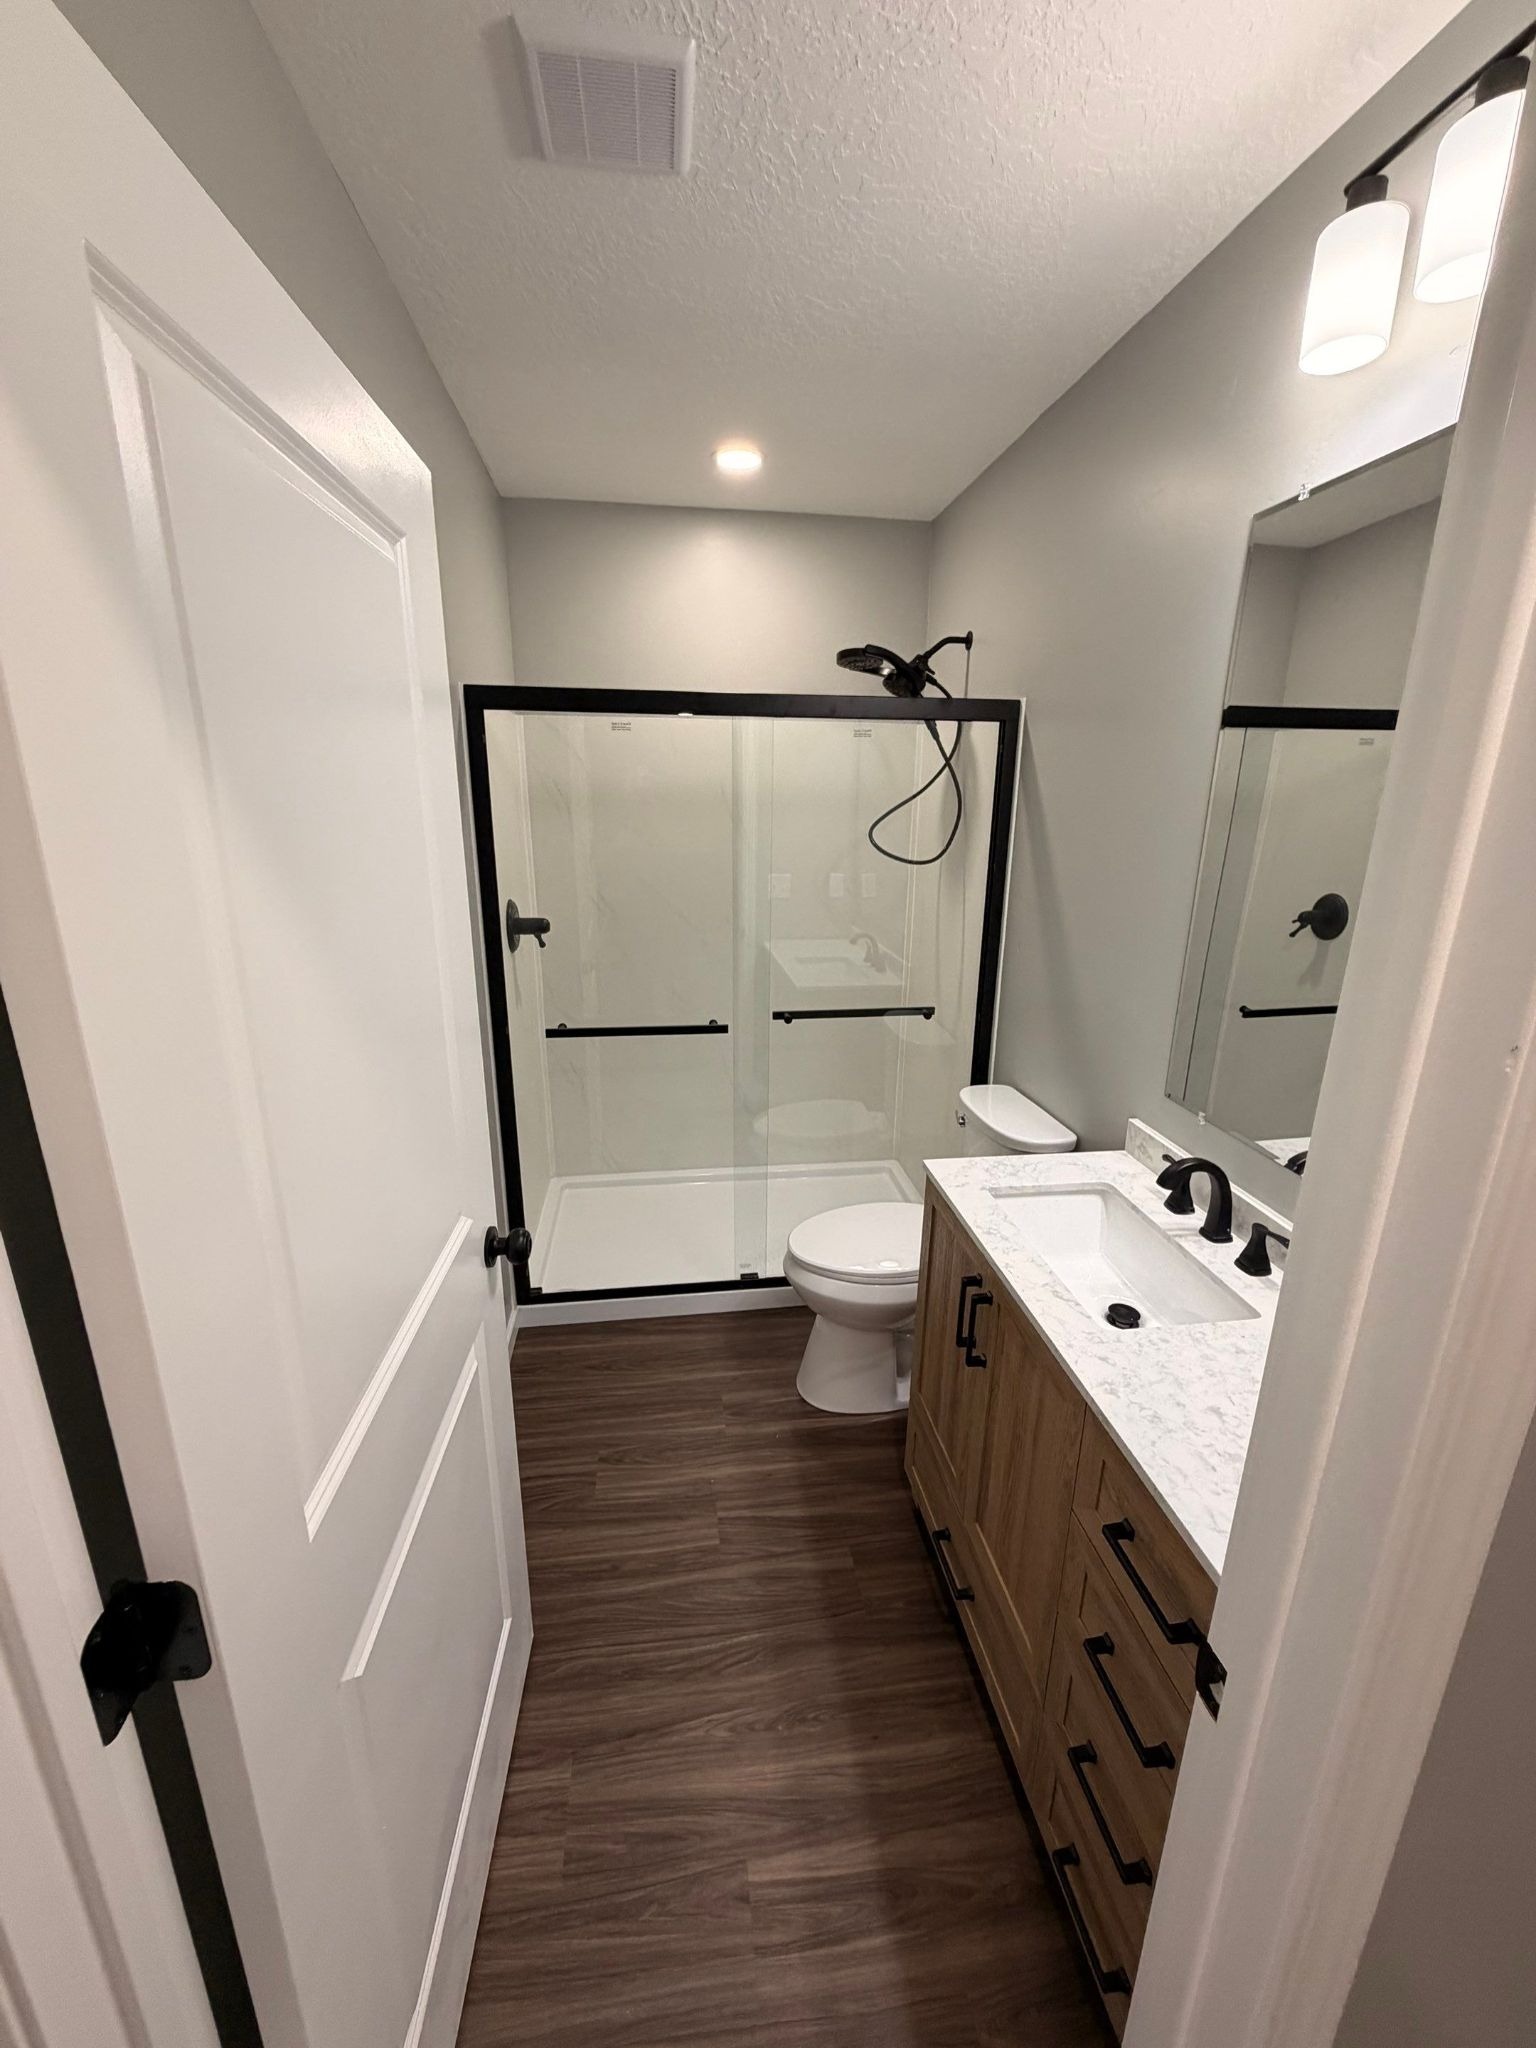
Phase 8: Bathrooms, Cabinetry, Fixtures, and Final Details
Bathrooms, bars, built-ins, plumbing fixtures, lighting fixtures, hardware, mirrors, shower glass, and other final elements bring the project together.
Some of these items are installed near the end because they depend on finished walls, floors, countertops, or tile. This is also where long-lead selections can affect the schedule if they were not ordered early enough.
The final stretch can feel slower than framing because the changes happen in smaller pieces, but these details are what make the basement feel complete.
Phase 9: Final Walkthrough and Punch Work
Before the project is considered complete, the finished basement should be reviewed as a whole.
A final walkthrough gives the team and homeowner a chance to identify minor adjustments, touch-ups, or incomplete details. Punch work may include paint touch-ups, hardware adjustments, caulk, trim corrections, or other small items that become visible once construction is otherwise finished.
This step matters because a professional finish is not just about completing the major construction phases. It is also about closing out the small details.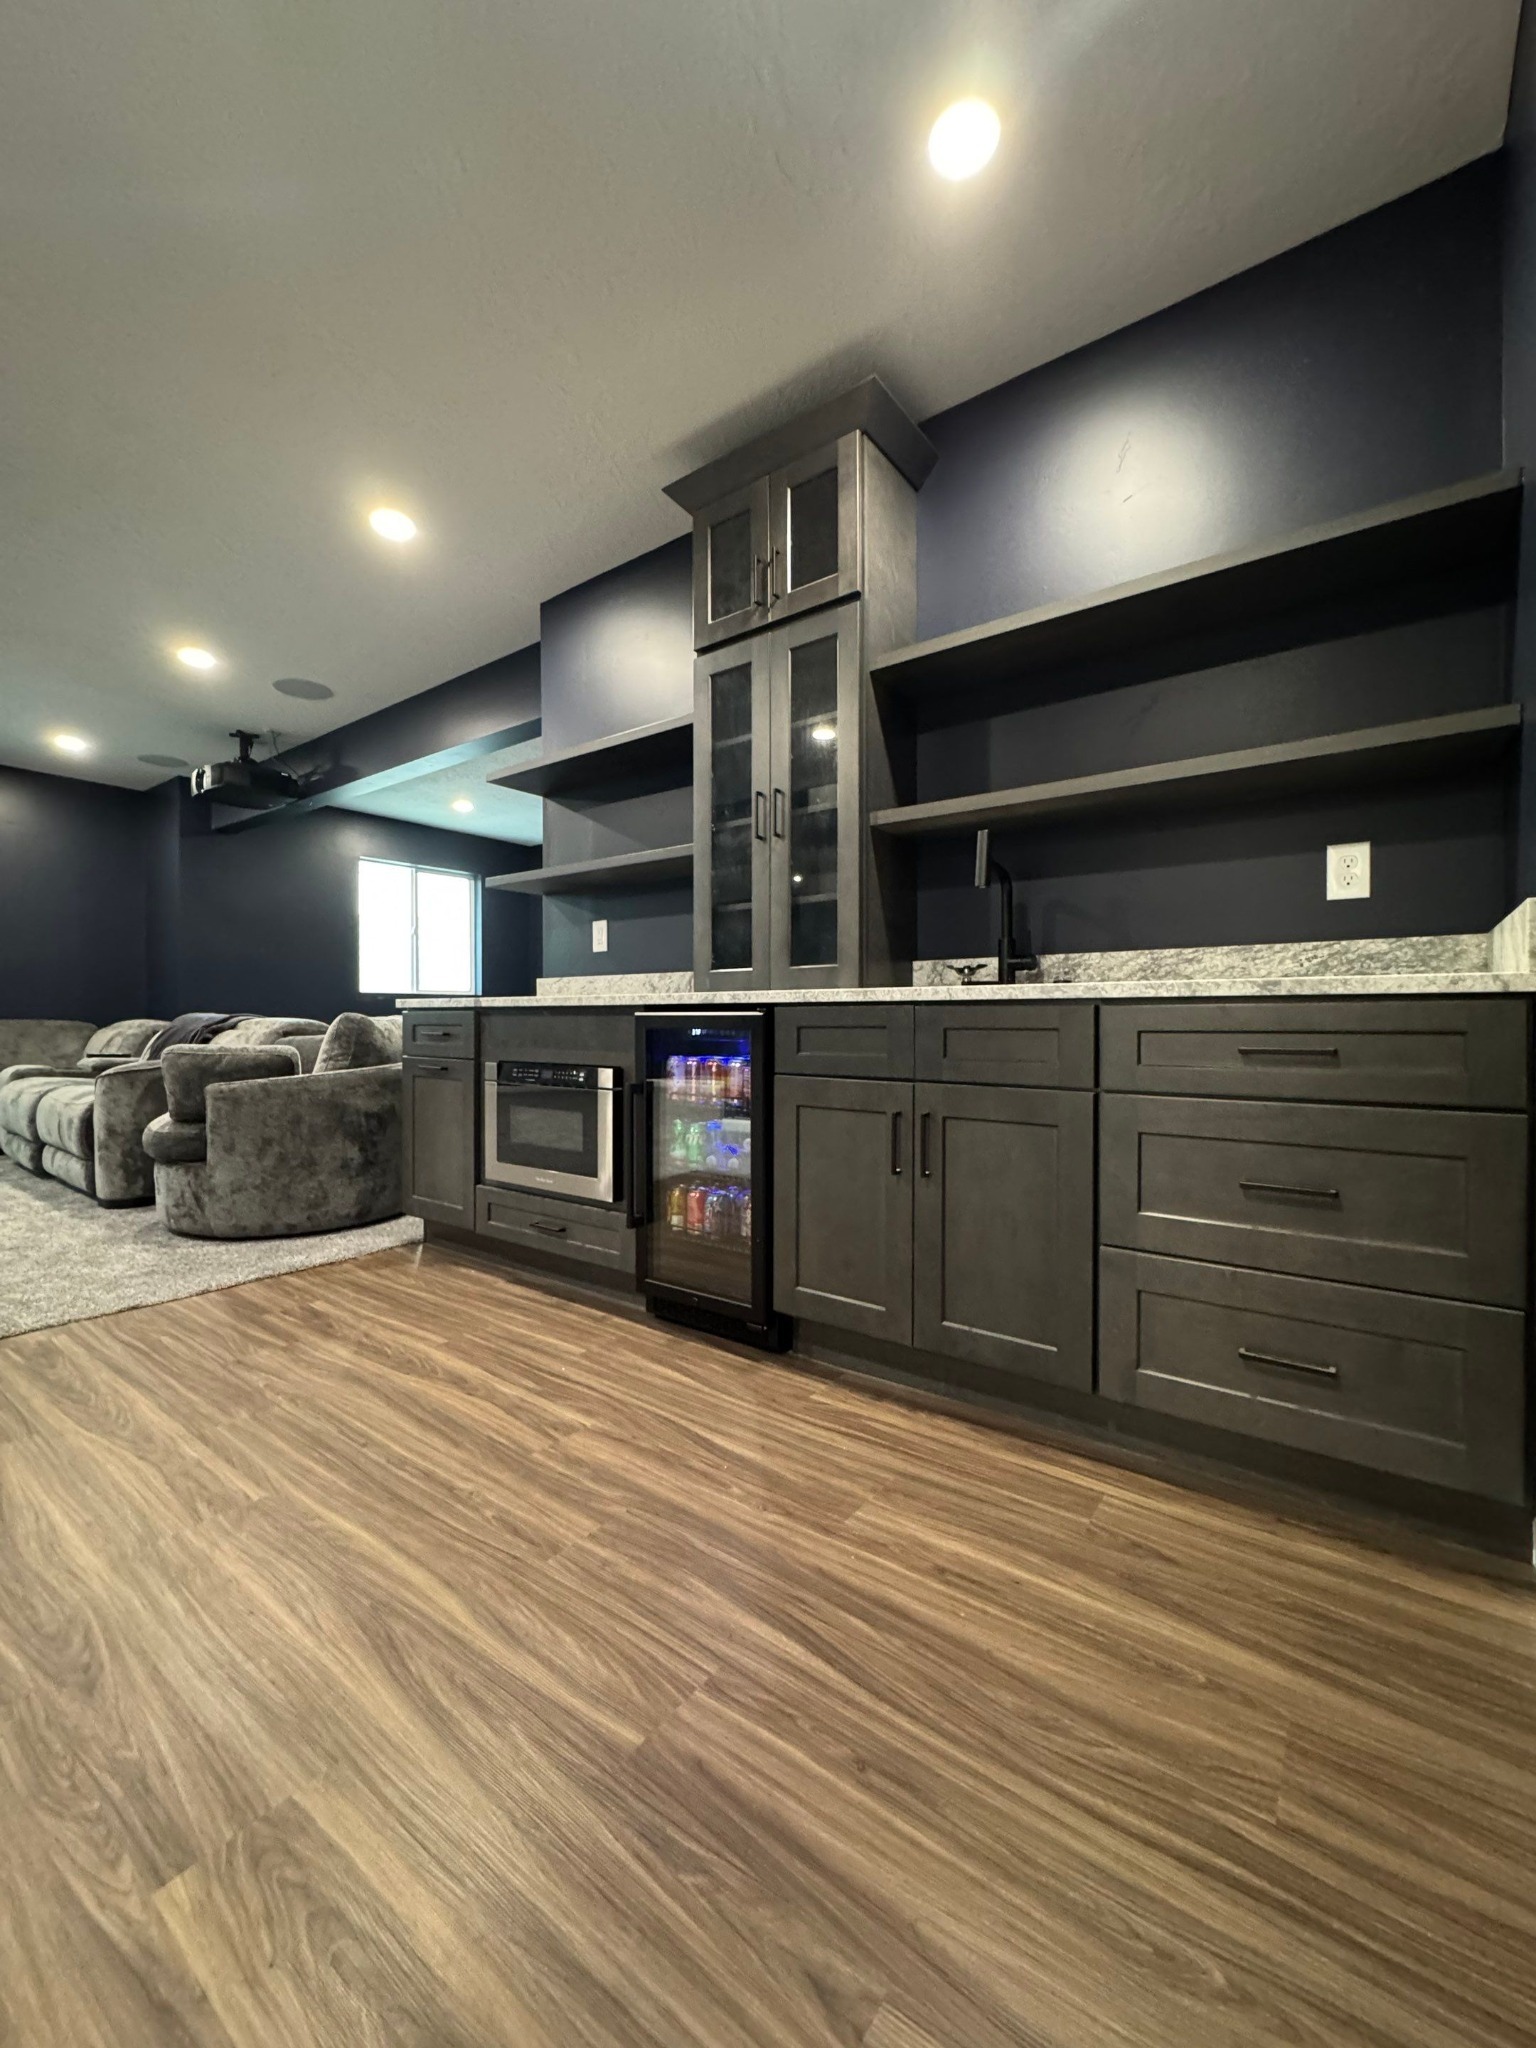
What Can Change a Basement Finishing Timeline?
Several factors can extend or change the schedule:
- Adding or relocating plumbing
- Custom tile showers or detailed tile patterns
- Cabinet or countertop lead times
- Special-order doors, fixtures, or finishes
- Structural changes
- Unexpected existing conditions
- Permit or inspection timing where applicable
- Homeowner-requested changes after construction starts
- Delayed selections
- Trade availability
- Material backorders
Not every delay means something has gone wrong. Some parts of remodeling simply depend on work, inspections, drying, fabrication, or deliveries that cannot be compressed without affecting quality.
How Homeowners Can Help Keep the Project Moving
The biggest thing homeowners can do is make selections and decisions early.
Choose flooring, tile, fixtures, paint direction, cabinetry, countertops, and other major finishes before the project reaches the point where crews need them. Ask questions during planning instead of holding them until installation day. If a change becomes necessary, communicate it quickly so the team can evaluate the effect on cost and schedule.
A clear decision made early is usually much easier to accommodate than a rushed decision made after work has already been completed.
Frequently Asked Questions About Basement Finishing Timelines
How long does it take to finish a basement in Utah?
The timeline depends on the size, layout, number of rooms, bathrooms, custom finishes, permit requirements, material availability, and complexity of the project. A detailed project schedule should be based on the actual scope rather than a generic number of weeks.
What part of basement finishing takes the longest?
There is not one phase that is always the longest. Drywall finishing requires drying time, custom cabinetry and glass may require fabrication time, and bathrooms or detailed tile work can add multiple steps. Coordination between trades also affects the overall schedule.
Can I make selections after construction starts?
Some selections can be finalized during construction, but waiting too long can create avoidable delays. Items with long lead times or selections that affect rough plumbing, electrical, framing, or cabinetry are best decided earlier.
Why does the schedule sometimes look quiet for a day or two?
Remodeling includes drying time, inspections, fabrication, deliveries, and trade sequencing. A day without a large crew on site does not necessarily mean the project is stalled. The important question is whether the next required step is being coordinated.
Does RemodelCo provide a project schedule?
RemodelCo coordinates the work around the project's actual scope and communicates the sequence of construction so homeowners understand what is happening and what comes next.
Plan the Timeline Before Construction Starts
A basement finishing schedule works best when it is built from the real project: the layout, trades, finishes, material lead times, and existing conditions in the home.
The goal should not be to promise the shortest possible timeline. It should be to create a realistic plan, coordinate the work in the right order, and keep homeowners informed as the project moves from framing to final walkthrough.